
Custom dashboards in LEADSORBIT allow you to organize your most important business metrics in one place. You can create dashboards, add widgets, and customize the layout to quickly monitor the data that matters most to your business.
Create a Custom Dashboard
Follow these steps to create a custom dashboard in LEADSORBIT.
- Navigate to Dashboard.
- Click the Dashboard dropdown in the top-left corner.
- Click + Add Dashboard.
- Enter a name for your dashboard.
- Choose whether the dashboard should be Private or shared with your team.
- Click Confirm to create your dashboard.
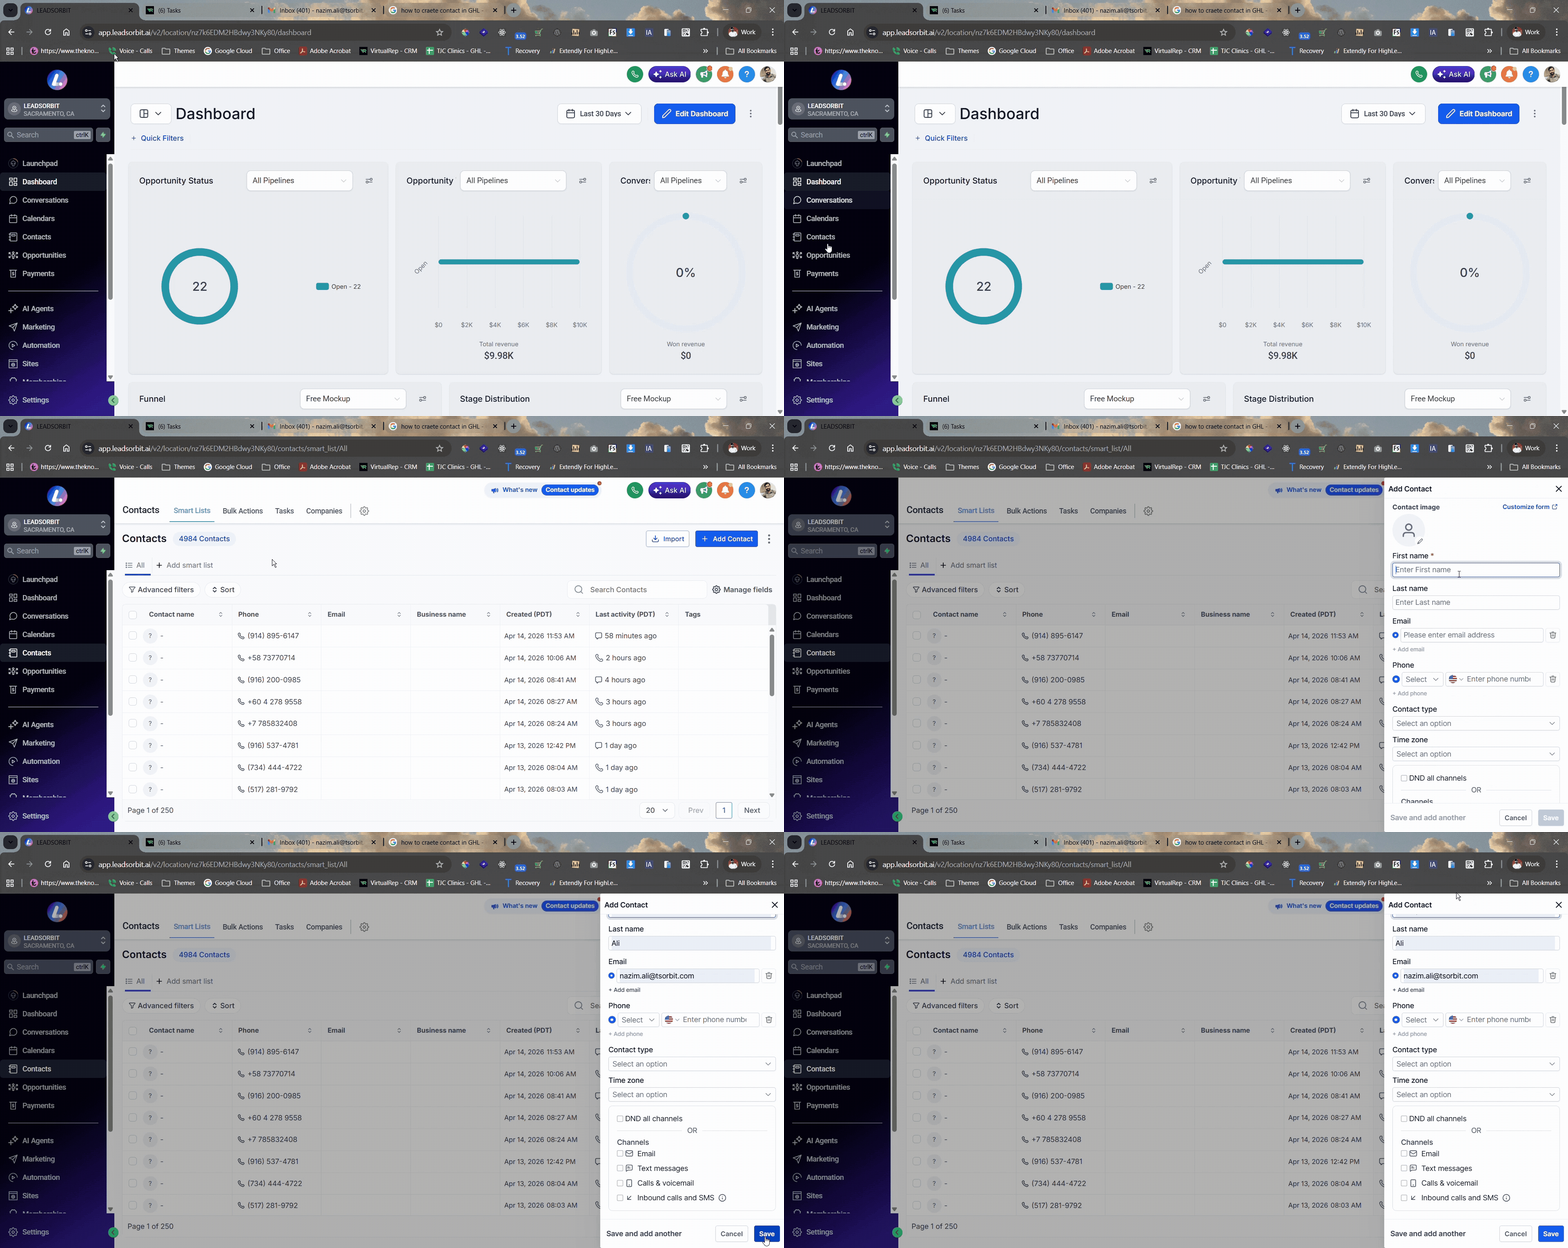
Creating a new custom dashboard inside LEADSORBIT
Add Widgets to a Dashboard
After creating your dashboard, you can add widgets to display the information you want to track.
- Open the custom dashboard you want to edit.
- Click + Add Widget or select Add a widget manually.
- Choose the widget you want to add.
- Configure the widget settings based on the data you want to display.
- Click Save to add the widget to your dashboard.
Adding a widget to a custom dashboard inside LEADSORBIT
Manage a Custom Dashboard
You can update your dashboard at any time to keep it organized and relevant.
- Open the custom dashboard you want to manage.
- Click Edit to make changes.
- Add, edit, remove, or rearrange widgets as needed.
- Click Save to apply your changes.
Editing and rearranging dashboard widgets inside LEADSORBIT
Best Practices
- Create separate dashboards for different business goals or teams.
- Only add widgets that provide useful insights.
- Review your dashboard regularly to keep the information up to date.
- Organize widgets so the most important metrics appear first.
- Share dashboards with your team only when needed.
Common Issues
- Unable to create a custom dashboard: Verify that your account has permission to create dashboards.
- Unable to add widgets: Make sure you're editing a custom dashboard before adding widgets.
- Dashboard not saving: Review your changes and click Save before leaving the page.
- Widgets not displaying data: Check the widget settings and confirm that data is available for the selected filters or date range.